lightroom presets
Thanks for showing interest in my first preset. If you’re on this page, it’s because I gave you super-special-exclusive access to the R&D (Research and Development) group.
All I ask is that you tell me how it worked with your photos, send a screenshot of the before and after, and anything else that comes to mind. If you have any issues with the download, just reach out.
Disclaimer: This will not work on every photo, so feel free to tweak it to your desired outcome.
*Note - Open the link in Safari or Chrome (the native Instagram web client will NOT open the download)
Moody Autumn Preset 1
This preset is called “MoodyAutum_YLW/ORNG_1” in case you’d like to name it.
Description:
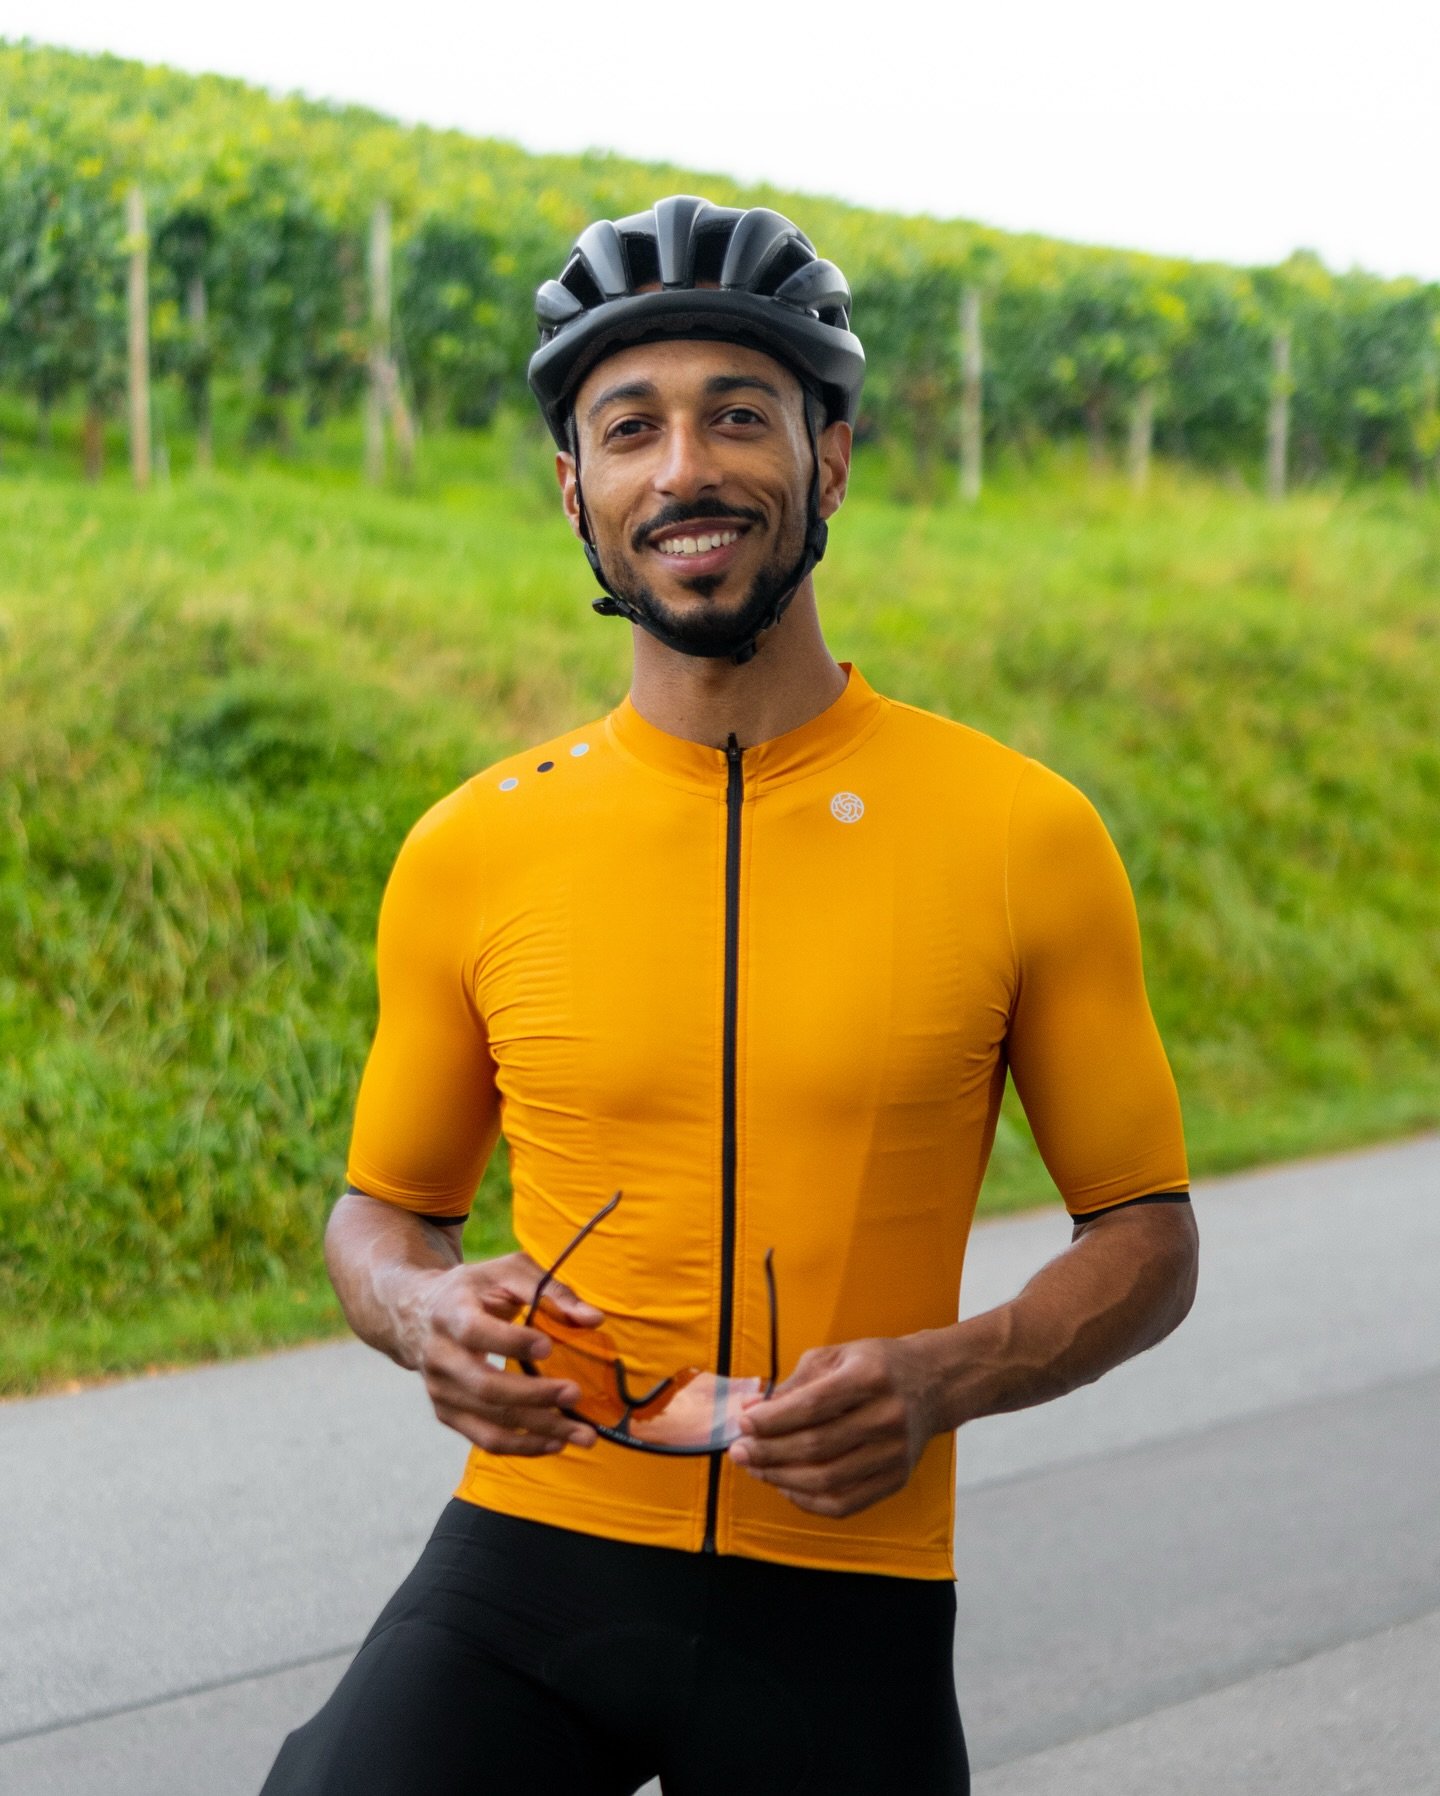
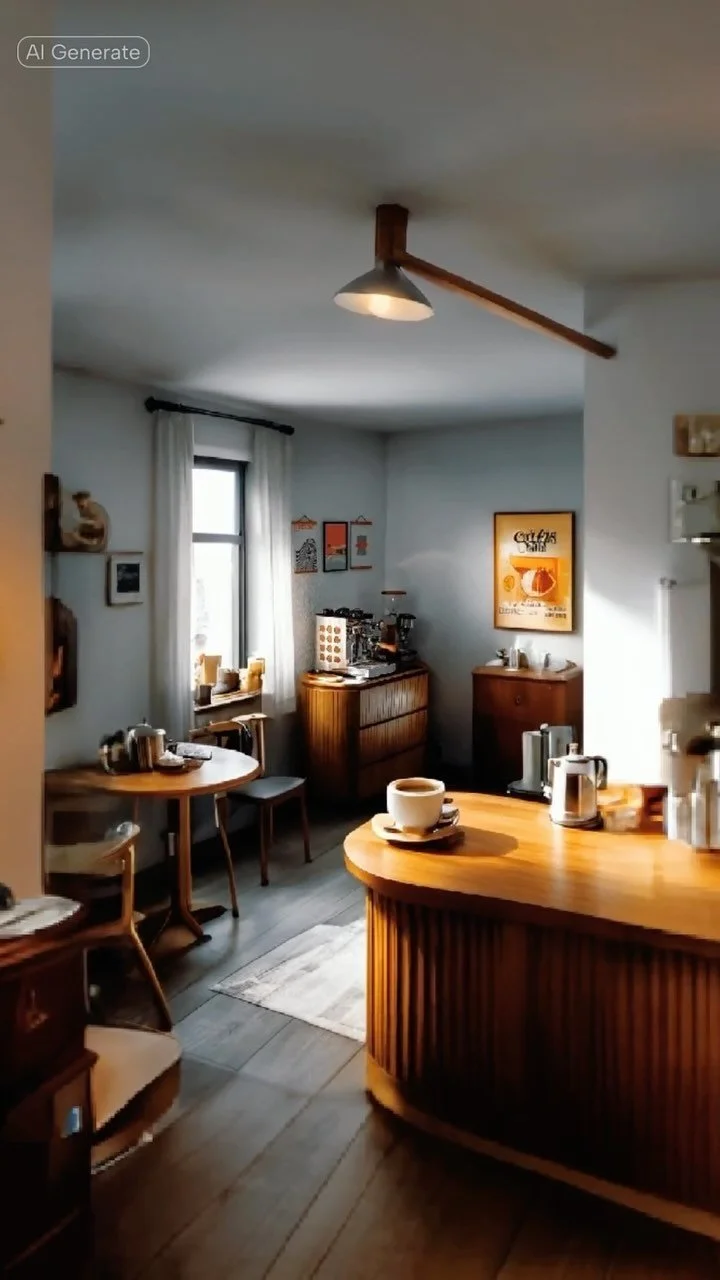
Designed for photos with brown, orange, yellow and red tones. The blues will be desaturated but you can always bring the color out.
What photos do they work on?
Underexposed images that need a bump in the exposure and shadows. Yellow and Orange tones will be saturated and the greens desaturated to create a more overall warm feeling. The blue’s will also be desaturated. Center/foreground is sharpened.
Tips:
Image too bright? - drop the exposure, drop highlights, drop shadows, add contrast
Image still underexposed? - increase exposure, increase shadows
Image too orange? - lower orange saturation level to your desire
Image needs more blue? - Turn up the Blue and Aqua Saturation
Instructions for Mobile (Download from Instagram):
Download Lightroom CC app and make a free account unless you already have one
From Instagram:
Open the link in Safari or Chrome (the native Instagram web client doesn’t work with the download)
Tap the “Download” button
Open in More… then tap on “Save Image”
Open the Lightroom CC app
Tap Add Photos button in bottom corner
Add From Camera Roll
Look for the file that says DNG or RAW
Tap the check mark
It should redirect you to All Photos and say DNG in the corner.
Tap on the image and hit the 3 dots in the top corner. Then tap on “Create Preset”
Name the preset what you’d like or “MoodyAutumn_YLW/ORNG_1” and tap the check mark.
Open a new photo, scroll to presets and then tailor the edit to your liking.
Instructions for Desktop - Lightroom Classic CC
Download the “MoodyAutumn_YLW_ORNG_1.xmp” file
Open Lightroom Classic CC (not Lightroom CC)
Make sure you’re in the Develop tab.
Locate the Preset panel, click on “+” and “Import Presets…”
Locate the XMP file, then click “Import”
Once you’ve uploaded the preset, you can make some basic adjustments to tailor it to your image.
Included:
1 DNG file
1 XMP file
FAQ:
Why isn’t the preset working on desktop?
Make sure you’re using Lightroom Classic CC and it’s on the most recent update. Also, make sure you’ve downloaded the “Desktop Download” and not mobile because the file format is different.
Compatibility:
Lightroom Classic and Lightroom Mobile CC
Compatible with both Mac and PC
Works on RAW and JPEG (better with RAW)
Easily adjustable to your desired image
File Format: DNG (mobile), XMP (desktop)
File Size: aprox. 20MB
Software: Adobe Lightroom Classic and Lightroom CC Mobile
Author: Mitchell Dick
If you like this preset and would like to support me creating more, feel free to donate at my Ko-Fi link below.